But first, a quick review
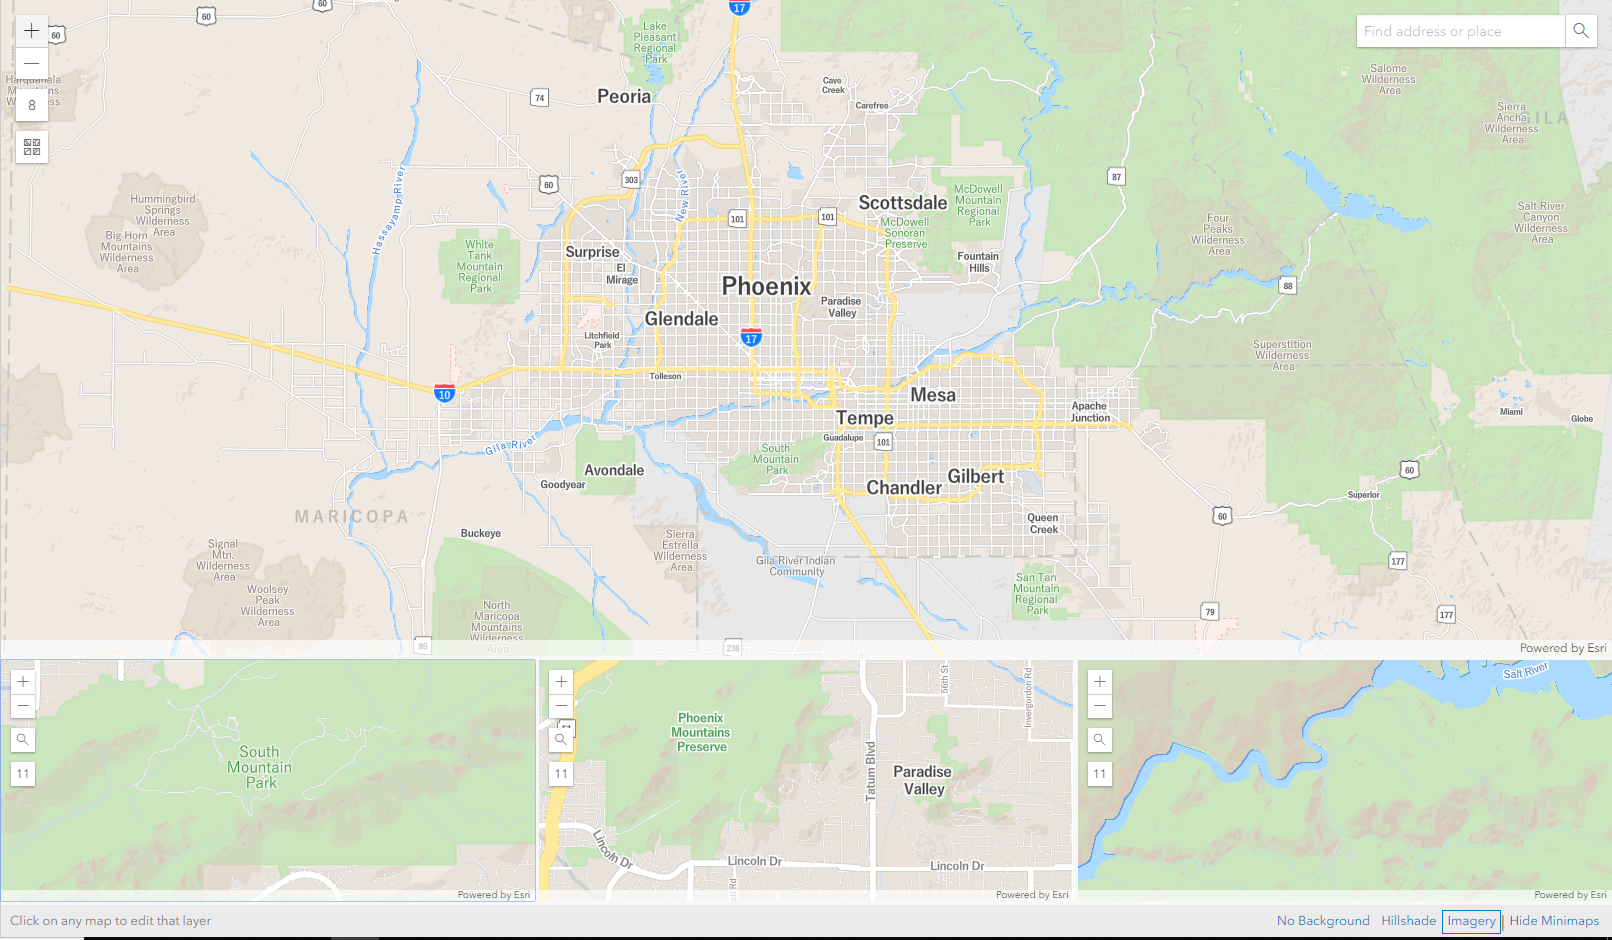
Designing basemaps with the Esri ecosystem have gotten significantly better with the release of the ArcGIS Vector Tile Style Editor. About two years ago, when I started developing with Esri Vector Tiles, the options were good, not great. The new editor simplifies a lot of the initial set up process, and makes wysiwyg styling in a graphical interface much easier. A few things that would make it killer, and which I assume are probably in the works:
- Re-ordering of layers
- Re-naming layers
- Copying layers
- Editing the
text-fieldproperty - Support for
filter,type,interpolatefunctions - better rgb-a color support in color properties
Overall, this new editor (still in beta) makes significant improvements from when I started a few years back. Big thanks to the developers of the app for that!
Hillshades in Esri Vector Tiles
What this post is actually about: Hillshades in vector tiles. While designing a new basemap for a client recently, I wanted to implement some elevation into the vector tiles directly to avoid having to stack a raster one with transparency within a separate webmap. There’s quite a few implementations of this technique in other providers and samples I found when exploring on the web.
Here’s a quick rundown of how I implemented them for a basemap in the Phoenix area.
Elevation Data
Since the region was quite large, and the client wanted to areas outside of their data coverage viewable, I downloaded 10m and 30m DEM’s from the NRCS Data Gateway.
Processing
To create hillshade polygons for region, two elevation sources were processed. First, the 30m DEM was used for small scales, and second, the 10m DEM for large scales. Both were processed using the same steps described below.
1.Focal Statistics
This process smooths the raster cells by neighborhood.
Parameters = Model Shadows:Yes
See tool help for more info
2.Hillshade
Creates a shaded relief from a surface raster by considering the illumination source angle and shadows. Parameters = Neighborhood: Circle, Radius: 5, Units: Cell, Statistics Type: Mean
See tool help for more info
3.Reclassify
Reclassifies (or changes) the values in a raster.
See tool help for more info
4.Raster to Polygon
Converts a raster dataset to polygon features.
Parameters = Field: Value, Simplify Polygons: Yes, Multipart Features: Yes
See tool help for more info
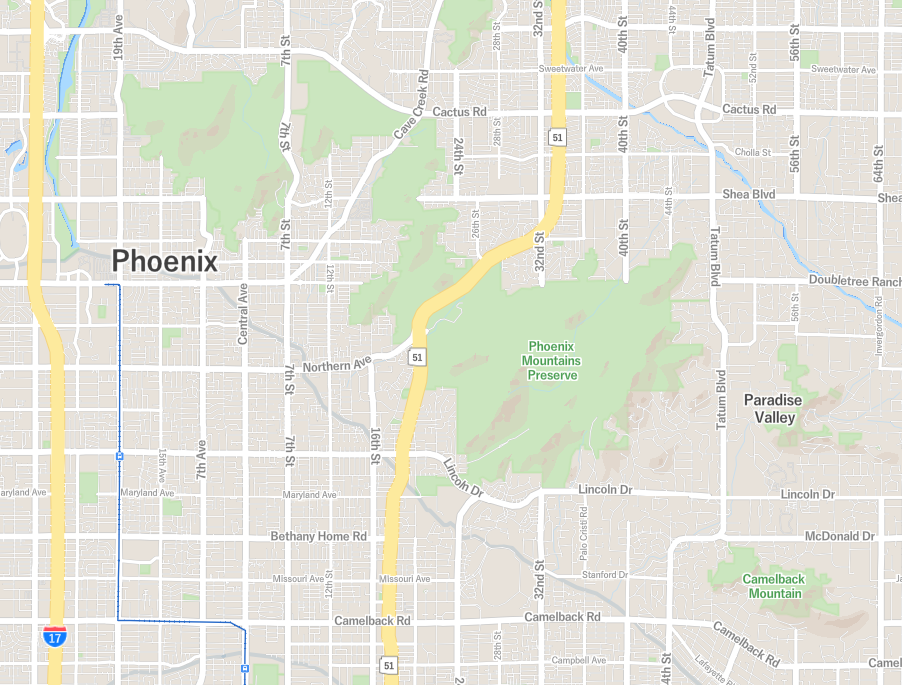
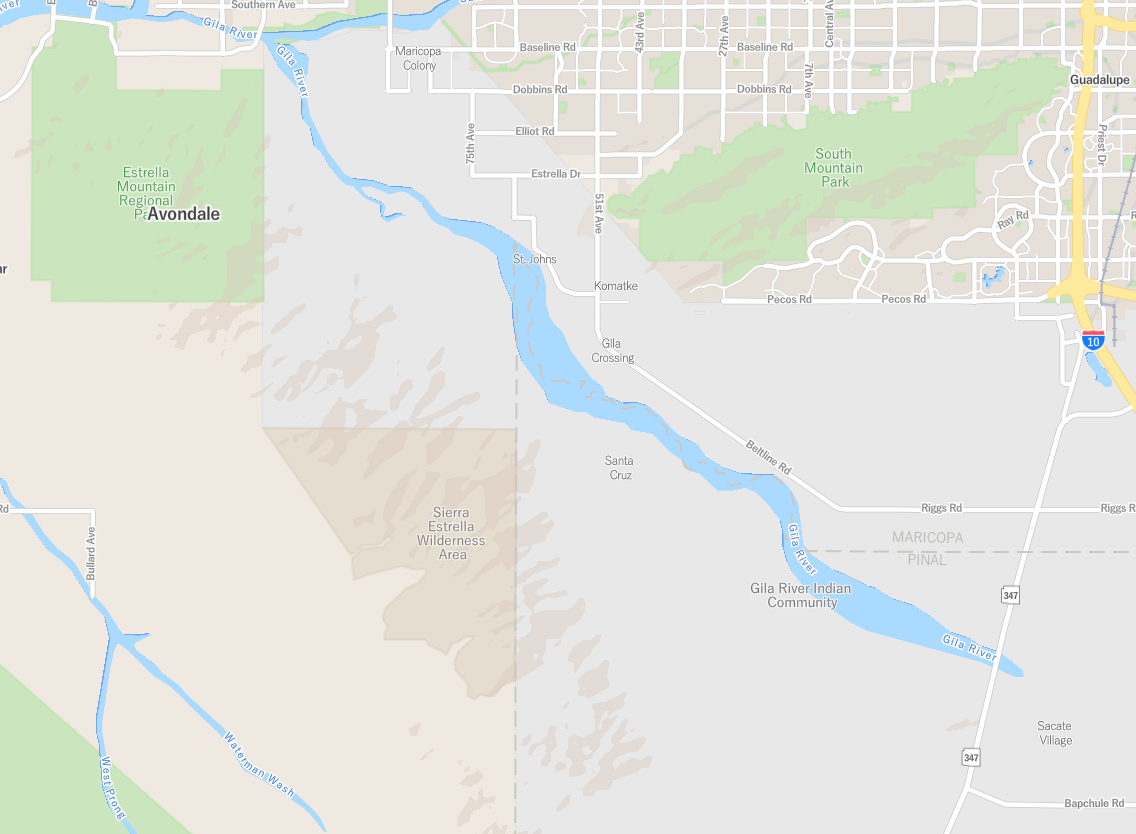
The resulting polygon layers were added to the ArcGIS Pro project and published with the reclassified elevation values added as available attributes in the vector tiles. Once published in the source vector tile package, they were stacked on each other and styled using #d9c8bc at 40% transparency against the creamy tan background (#efe9e1). The 30m is available at all zooms, while the 10m turns on at zoom 11, to provide more detail. They are specifically designed to be un-obtrusive and faint, and allow for the slightest cue of elevation to the viewer.
A few things I wanted to try, but did not get around to:
- Use a multi-directional or swiss style hillshade.
- Use filled contours for the background
- Turn off hillshades at zoom 14 and higher and switch to contours. m
Please enjoy these post-published screenshots!

ArcGIS Vector Tile Style Editor screenshot High-Res Version

Phoenix Mountains Preserve area High-Res Version

Sierra Estrella Wilderness Area High-Res Version
As usual, email me or hit me up on twitter if you want some more details or have any general questions.